As with most programming languages, the best way to start is with a quick “Hello World” example, to make certain you have all the basics in place. Let’s see how that’s done in RubyMotion.
Pssst! If you are a more visual learner, and prefer watching videos to reading blog posts, check out our free preview video of the material covered in this post, right here in the WNDX School.
Step 0
Ok, I lied just a little in that title. Before we can get started, we should make certain that you have all the necessary requirements for RubyMotion development.
Apple Computer
You will need a Mac (MacBook, iMac, Mac Mini, Mac Pro). Both RubyMotion & Apple iOS (iPhone/iPad) development require macOS to work. If you actually need to buy a Mac, remember that the original RubyMotion was created on a MacBook Air (an underpowered machine by most developers’ definition). You don’t need to spend a fortune to get started. Used Mac’s capable of running High Sierra are readily available on eBay for $200-$500.
So, about High Sierra… your Mac will need macOS High Sierra installed. Due to license limitations in RubyMotion Starter (the free download), you must use the most recent version of Xcode, which requires High Sierra.
Ruby
Your Ruby can be the natively installed Ruby 2.3.x on macOS, or one you have independently installed via Homebrew, RVM or rbenv. I recommend, for reasons that would require an entire blog post of their own, that you install a separate Ruby to use for your RubyMotion development.
Assuming you have one of the above (brew, rvm, rbenv) installed, you can install Ruby easily:
Homebrew
brew install ruby
RVM
rvm install 2.4.4
rvm use 2.4.4 --default
rbenv
rbenv install 2.4.4
rbenv global 2.4.4
Step 1: Install Xcode
It’s an unfortunate fact of life that for any Apple/Mac/iOS development, you need to at least install Xcode. There are a lot of extra development tools that are bundled within, and those are the things we need for RubyMotion development
Xcode
You can download Xcode in two different ways. I would recommend the App Store if you are just getting started.
App Store
Download Xcode (currently 9.4.1, but whichever is the most current) from the App Store (or go for the Developer Downloads).
After installation is complete, open it up and make sure it completed all the extra steps. These extra steps include things like accepting license agreements, downloading command line tools, etc.
Apple Developer Downloads
- Download from Apple Developer Downloads
- You’ll need an Apple Developer account to get this
https://developer.apple.com/download - Do NOT download any betas. For Starter edition, you need the currently released version of Xcode.
- You’ll need an Apple Developer account to get this
Note that you need about 15 GB of spare room to accommodate the xip’ed download and un-xiped Xcode.app
- Unzip
- should be done from Finder. Trust me, you wouldn’t want to do it the other way.
- If you have more than one version of Xcode installed, rename this downloaded Xcode.app to Xcode-x.y.z.app (where x.y.z is the specific version of Xcode involved).
- Install
- Move the .app to ~/Applications (To avoid interfering with App Store installed Xcode under /Applications, if you have different version)
- Open up the ~/Applications/Xcode-x.y.z.app and make sure it completes whatever extra steps it requires.
For RubyMotion development, it is important for the Xcode command line tools and the iOS Simulator to be installed.
Command line tools
Open Terminal.app (or the terminal application of your choice) and check for the command line tools:
 $ xcode-select -p
 /Applications/Xcode.app/Contents/Developer
If you installed Xcode from the developer downloads, you can select that version to use:
sudo xcode-select -s ~/Applications/Xcode-x.y.z.app/Contents/Developer
To switch back to default App Store installed Xcode, you can run:
sudo xcode-select -s /Applications/Xcode.app/Contents/Developer
If you run into problems, it is sometimes necessary to run
sudo xcode-select --reset
iOS Simulator
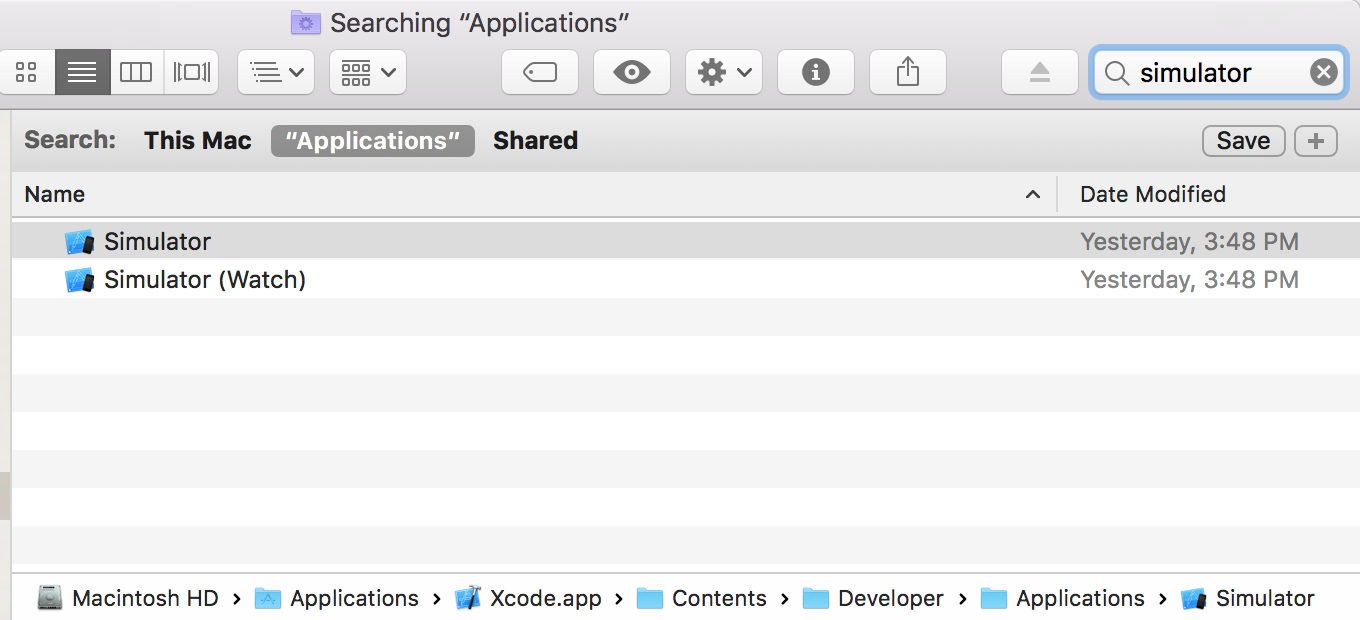
Open up Simulator.app, just to make sure it’s working. I highly recommend you use Spotlight or Finder to find it, as it is deeply buried in the Xcode.app Contents directory.

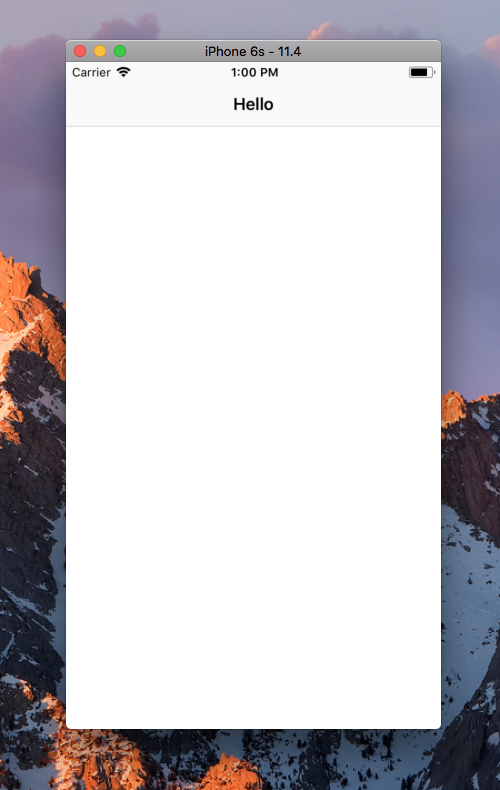
You should be able to start the simulator, and see the simulated device start up in a default configuration like:

Step 2: Install RubyMotion
Download the RubyMotion Starter installer http://www.rubymotion.com/download/starter/
- You’ll be asked for an email, so they can email your license key
- You need the license key to complete your installation
Install
- Run the installer app
- Have your license key handy
Configure
After RubyMotion is installed, you can check for updates, and ensure the application templates are installed/updated (stay tuned for a future post on RubyMotion templates).
From Terminal.app run:
sudo motion update
motion repo
At this point, RubyMotion should be installed and configured for use.
Gems
Do whatever you normally do to segregate these gems in a gemset (rbenv/rvm/etc). If you don’t know what that means, never mind, you’re good ;-).
Open up Terminal.app and type:
gem install bundler
If you run into problems installing any of the software or gems, please join our Slack discussion group - Motioneers for more detailed assistance.
Step 3: Test Your Installation
After you get all the required software and gems installed, we test that everything works by building a default generated app with the motion command. From Terminal.app, type:
$ motion create Hello
$ cd Hello
$ rake
This should build a default RubyMotion app, start the iOS Simulator, install the app on the simulator, and start the app. Assuming all that worked, you will see something like the screen capture below.

Wrapping up
You should now have a functional RubyMotion development environment. To continue, I recommend that you check the RubyMotion Samples page as well as the Sample Code Repository on GitHub.
If you ran into problems installing/configuring/testing any of the software above, please join the RubyMotion community on our Slack discussion group for more detailed assistance.
Link to Join Motioneers
Motioneers Slack
